

Most of the time I try to free hand draw – either from memory or a reference photo – visual elements. Drawing maps, however, is more challenging for me. When I know that a map should be included, I’ll often leave a space and add the map later, using the techniques I describe in this post.
The basic concept is to take an image, flip it, print it, trace over desired lines with a soft pencil, and rub it into your notebook.
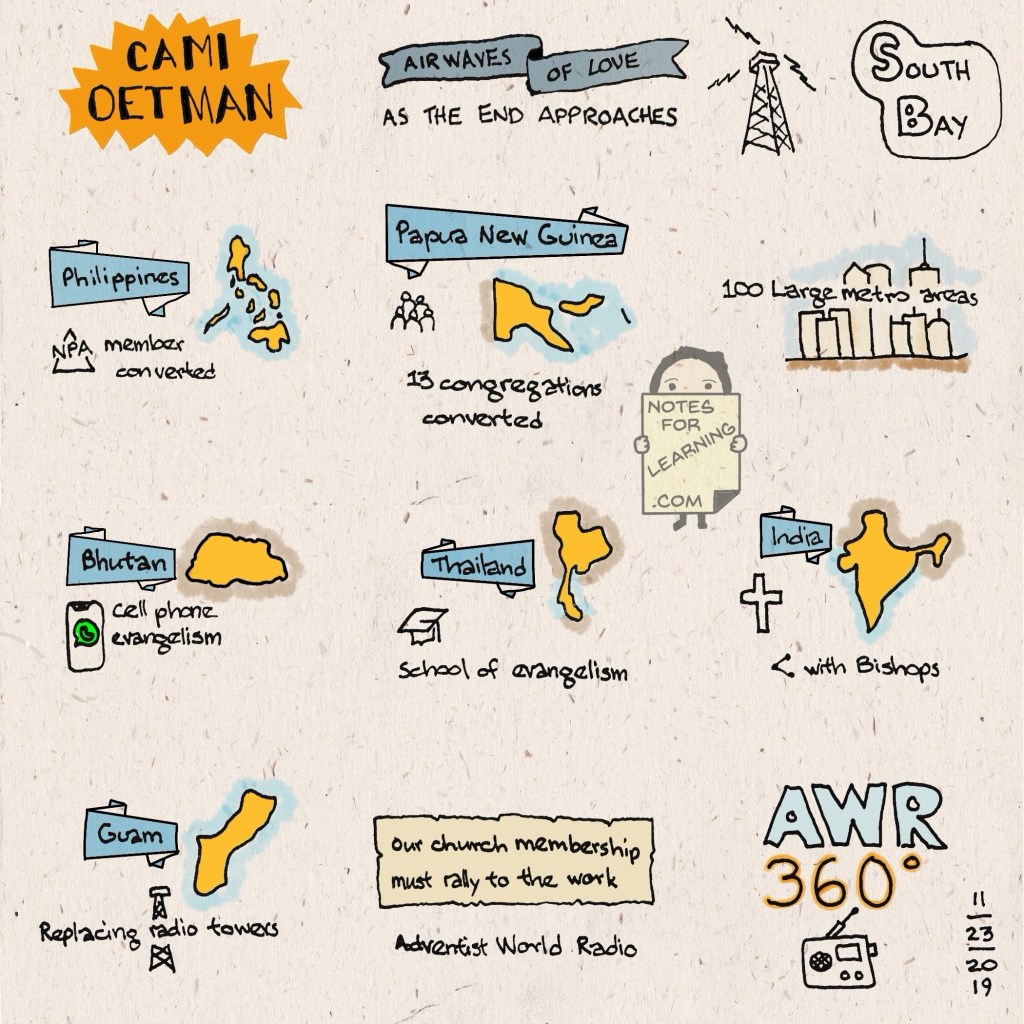
The speaker for the visual notes below from 2019 spoke about various missionary activities using radio broadcasts in several countries … Philippines, Papua New Guinea, Bhutan, Thailand, India, and Guam (a US territory). Since I was unable to visualize these shapes from memory – and because the speaker was moving quickly – I saved space to add them later.
About pencils
Pencil leads come in various degrees of hardness based on the mixture of graphite and clay. Pencils.com has a great article on the differences between 9H and 9xxB, along with other pencils in between. I use 6H to draw guidelines for lettering, HB (#2) for general purposes and 8B for this transfer process. The softer lead makes the transfer easier.

Find an image
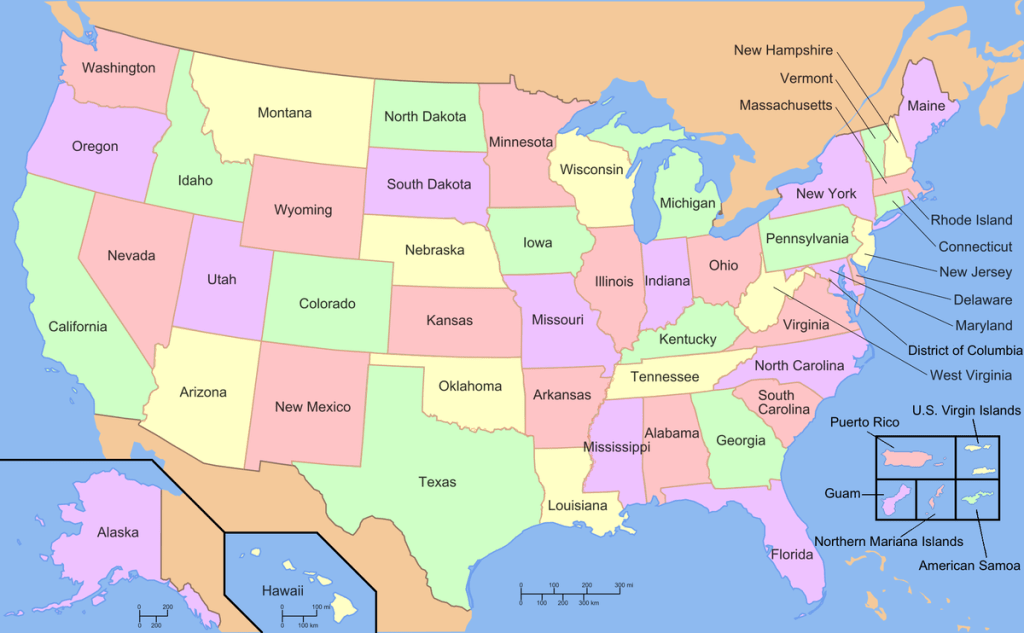
The first step is to find an image. If you have have a map, diagram or illustration that you want to include in your notebook, you can paste these in or create a foldout, but sketching the image into your notebook gives you the flexibility to customize or simplify it. Drawings already on paper or elsewhere in the real world need to be scanned. For this post I decided to use the outline of the continental United States (48 states).
Flip the image
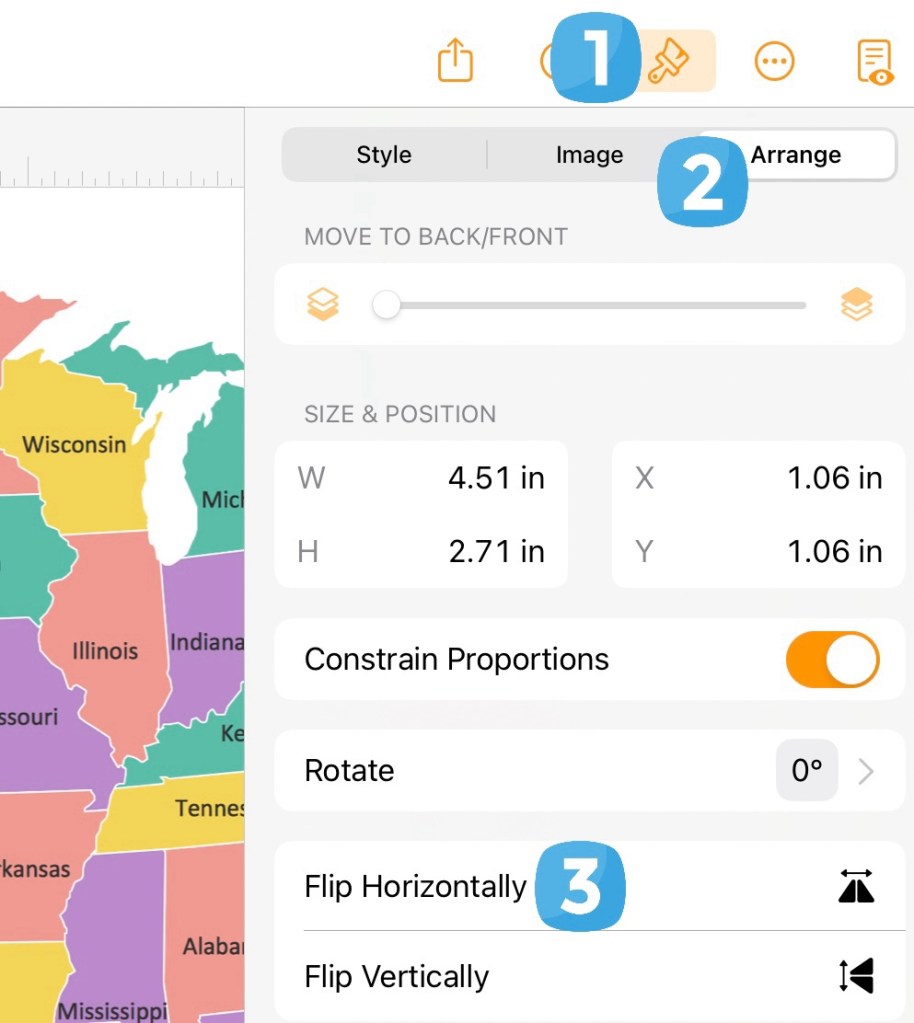
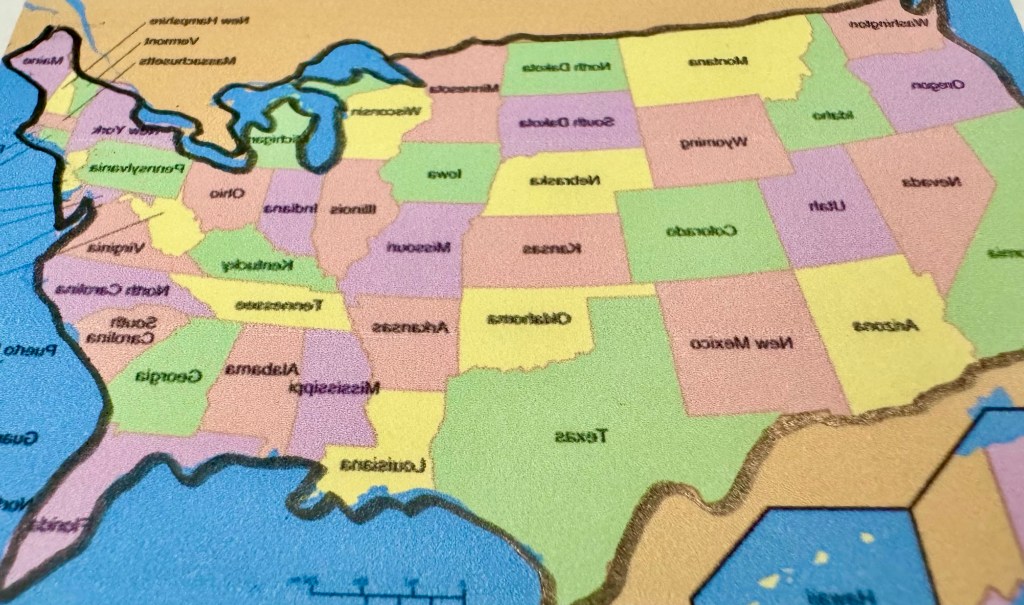
This technique requires that the image be reverse (flipped horizontally) to appear in the same orientation as the original once sketched into the notebook. A map or diagram needs to be displayed correctly, so flipping is necessary. It may not be needed for other types of imagery. I imported my images into Apple Pages, adjusted the size to fit the space in my notebook, and then flipped the image.
Print the page when all sizes have been adjusted and images have been flipped.
Trace over the printed image
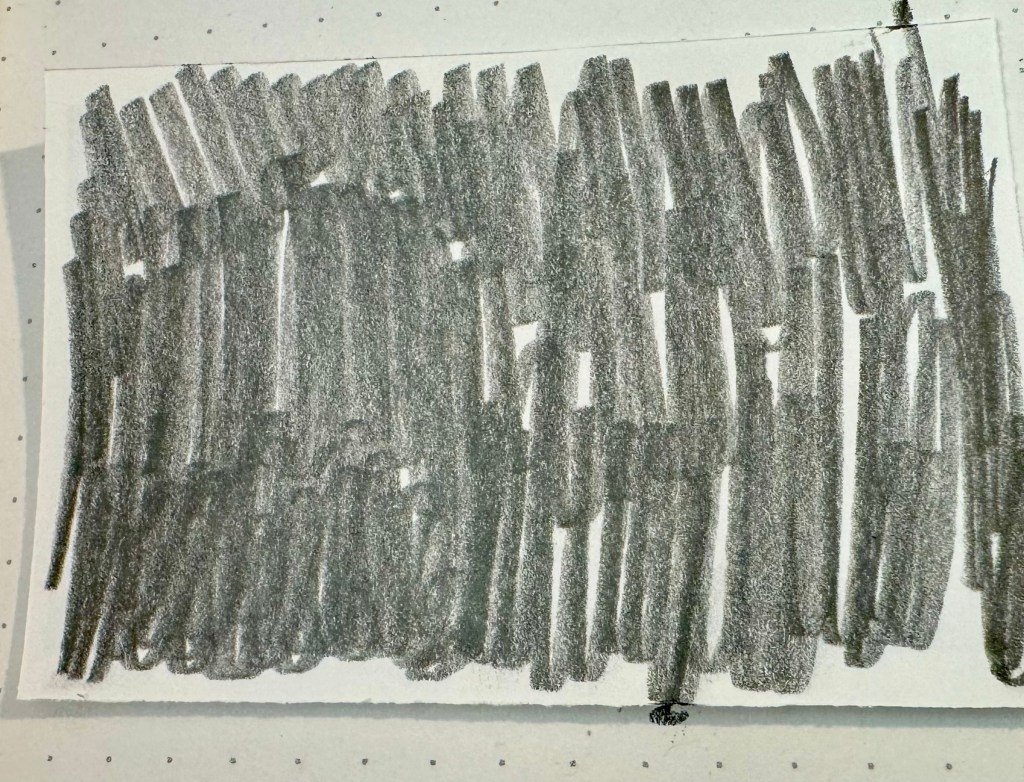
Using a soft lead pencil, trace each line you want to appear in the notebook. You might want the outline only (like the border of a country) or more detail. Cut out the image. Place the image facing your notebook.
Transfer the image
Using a pencil, firmly rub the back of the paper, ensuring that the full area where you traced lines has been covered. Remove the paper. You should now see a faint pencil drawing of your desired image.
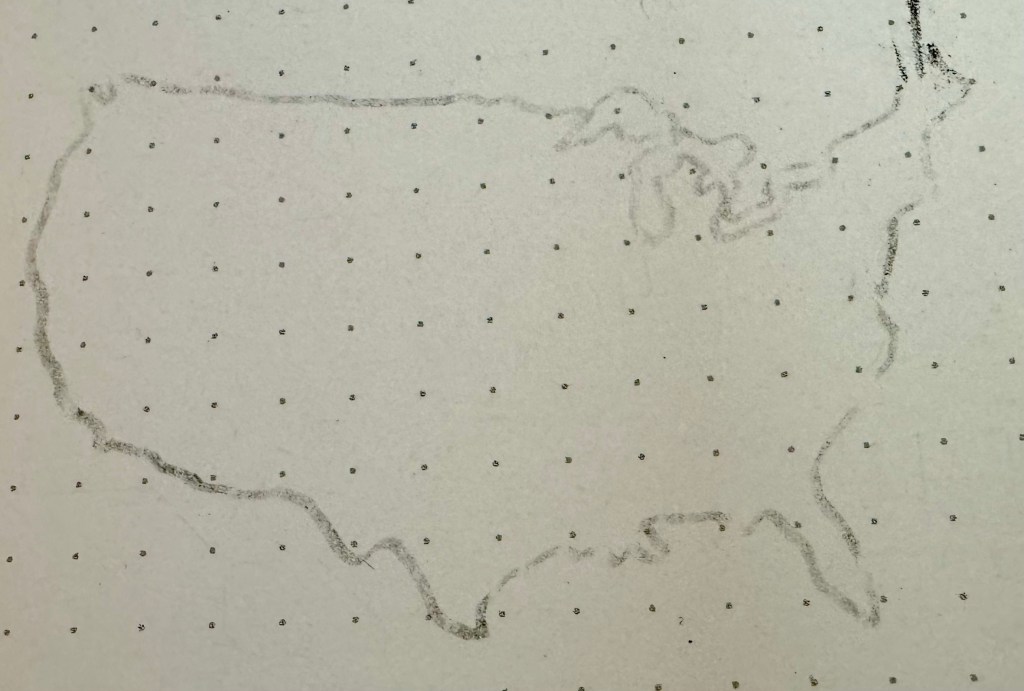
Ink the drawing
Using a fine liner, or other desired pen, carefully trace over the pencil lines. I used a Pigma Micron 005 (0.2mm). Once the ink has dried, erase all of the pencil lines.
That is the end of the transfer process. You can finish the drawing with color or additional detail. For this map, I colored the boundaries blue for water (Pacific and Atlantic oceans, Gulf of Mexico) and brown for land (Canada, Mexico).

