

In Part 1 of this series, I shared how I transitioned from using Moleskine pocket art notebooks to using my own. I’ve dabbled with bookbinding for several years, and this is a practical and fun way to keep those skills refreshed.
Bookbinding is a labor intensive, repetitive, and lengthy process. Between many of the steps is waiting for adhesives to drive or pages to settle. For that reason, I divided this process into several parts.
Bookbinding is also challenging to film, as I discovered. I admire the YouTubers who have perfected bookbinding videos and other craftwork. For that reason, despite my best intentions, the video does not have a voiceover – it is more like the study “chill” videos that are popular.
Video – Textblock
This video shows the process starting from various supplies to a text block with the endpapers attached. The pages of a book comprise the text block. The hard cover that protects the pages is the case. Connecting the case and the text block are the endpapers, folded sheets of paper at the front and back of the book.
Steps
For this post, I took screenshots throughout the video and added some notes.
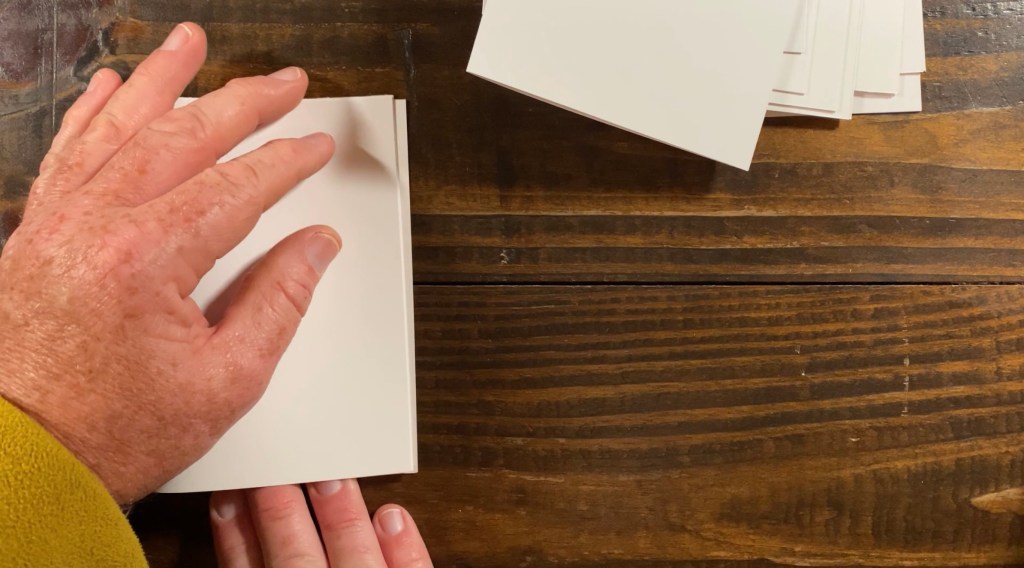
CREATE SIGNATURES. A signature is a collection of pages folded in half. For my notebook, I used thick weight – cover stock – paper, with two sheets per signature that resulted in eight pages per signature. Each sheet has two sides, and when folded in half, it becomes four pages.
PUNCH SIGNATURES. The next step is to use a template to punch holes in all of the signatures with an awl.

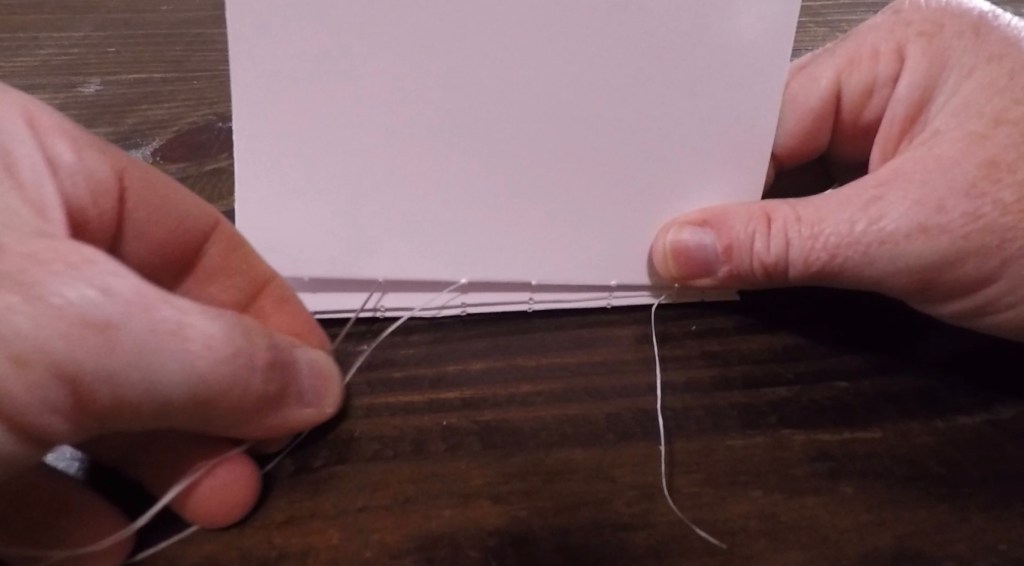
SEW SIGNATURES. Folding and punching is fairly straightforward and easy – it just requires accuracy and repetition. Sewing is more challenging because you have to keep the thread tight, it’s difficult to see inside the signatures, and it is possible to poke yourself with the needle. However, sewing the signatures together is really when the loose pages start to look like a book.
ATTACH ENDPAPERS. I applied a thin strip of glue to both the front and back endpapers. I then carefully placed these onto the sewn signatures.

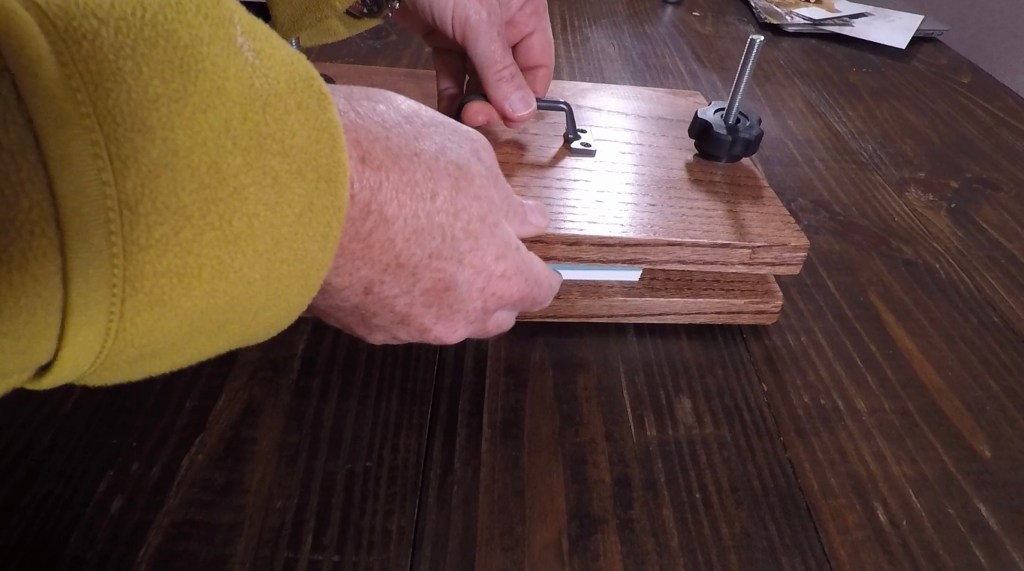
APPLY WEIGHT … AND WAIT. The endpapers are a critical component of the book since they connect the text block and case (cover). Thus, is is necessary to ensure that the glue adhesive is pressed into the paper. It is possible to use heavy books, bricks wrapped in cloth, or a book press to accomplish this task. I built a oak book press to accommodate the small projects that I typically bind.
YouTube Recommendations
If you are interested in bookbinding, check out the videos below and subscribe to SeaLemon
