In a previous post I wrote about all of the different notebooks that I maintain for various purposes. One of these is what I refer to as my “field notes.” I use Moleskine 3.5×5.5 Art series notebooks because I prefer the thicker paper (165gsm). I carry this notebook everywhere, and it fits perfectly in the back pocket of my jeans.

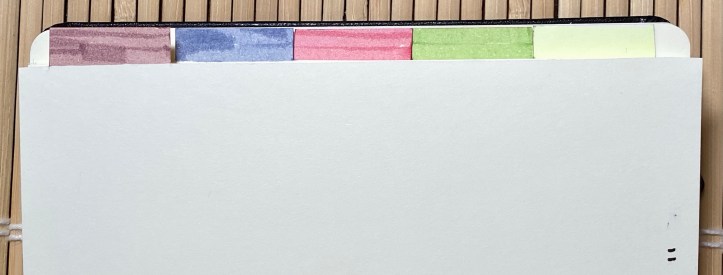
Since it slips into my pocket, nothing can be sticking out from the edges of the pages. If I used traditional tabs on pages that extended, they would be damaged in the process of transporting the notebook. That’s why I was enthusiastic to apply the concept of inline tabs to my notebook. I am able to easily identify key sections of information since the tabbed pages look different from the normal pages of the notebook.
The addition of these inline tabs to a notebook is a bit time consuming, so tabs should be used judiciously in special sections. Currently I use a series of inline tabs to track my goals for 2021. I cut tabs on five sheets, resulting in ten tabbed pages. Planning is essential to determine where in the notebook to create tabbed pages. It is also helpful to have some purpose in mind.
The measurements in these steps are based on five tabs in a notebook that is 5.5 inches tall. Each tabs is one-inch, with top and bottom margins (areas without tabs) of 0.25 inch. You can easily modify these measurements based on the number of tabs desired and the height of the page.
1 Create Guidelines
Draw a guideline with a pencil 0.25 inches from the edge of each page (on the top site of the sheet or left side page), for a total of five sheets.
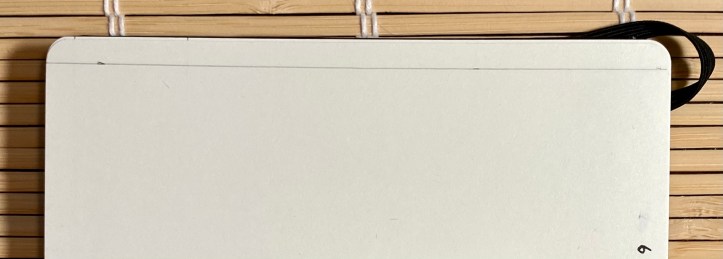
For the first page (e.g. page 9, place tick marks on the guideline 0.25 inch from the top and at 1.25 inches from the top. On the next page (page 11), place tick marks on the guideline 1.25 and 2.25 inches from the top. For each successive page, move down 1 inch for each left sided page (total of five).
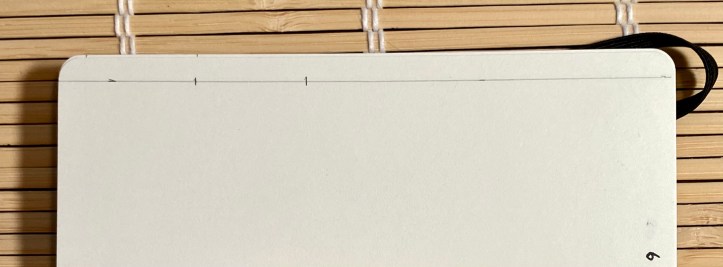
At each tick mark, use a triangle or piece of card stock to draw lines at 90 degrees, so that each tab has squared corners.
2 Cut Out Tabs
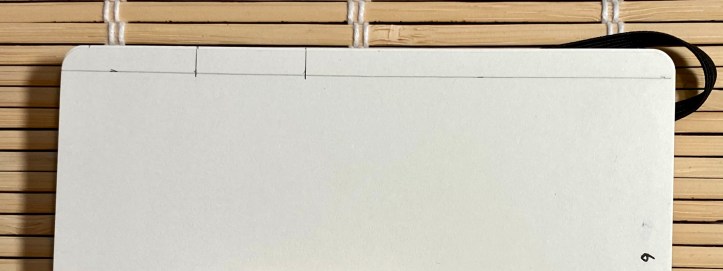
Using scissors or a craft knife and cutting mat, carefully cut away the edges of the page above and below the 1 inch tabs that you marked.
3 Erase Pencil Marks
Carefully erase all guidelines.
4 Color Tabs
If desired, color each tab. I used Zebra Mildliners to highlight each tab, for a total of 10 one-sided tabs.