

The quarto was one of the first style of books printed during the Middle Ages. The quarto consisted of a full sheet of paper folded in half top to bottom and then again the other way. Once the pages were sewn together, the top fold was trimmed off, resulting in an 8-page booklet. The finished page size was a quarter of the original size sheet, hence the name “quarto.”
In this post I’ll share my experience in creating a quarto and provide a template and steps if you want to try it too. For this project I created a 3.5 x 5 inch quarto booklet.
Understanding the page layout
The quarto page layout is a bit of a puzzle, since it consists of one sheet printed on both sides and folded twice. The way the quarter, finished-size pages should be placed is probably different than what you might think. I had to print several trials to understand the layout and best methods for printing.
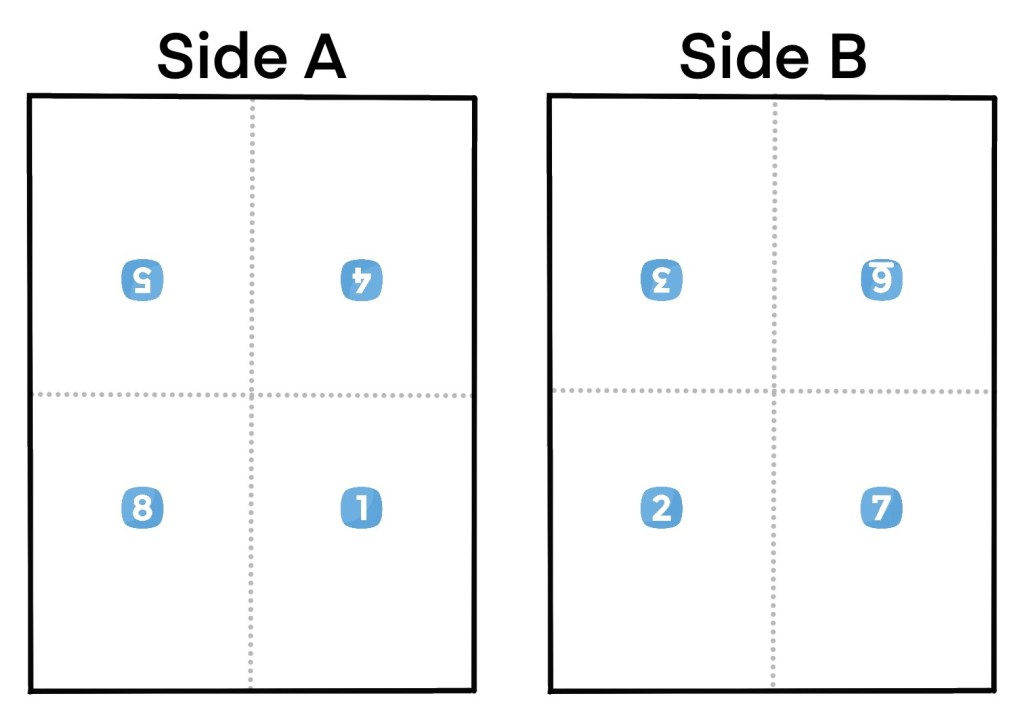
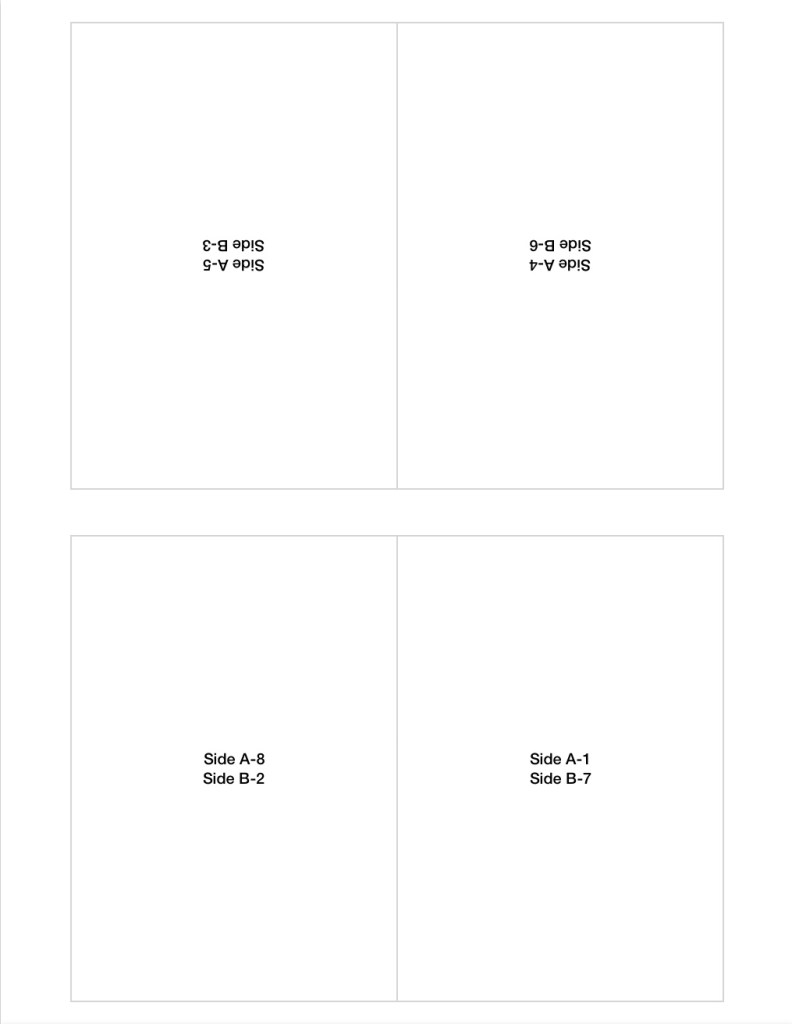
I first took a blank sheet of paper and folded it twice. I numbered the pages while folded and then unfolded it to see the pattern.

The resulting Sides A and B looked like this:
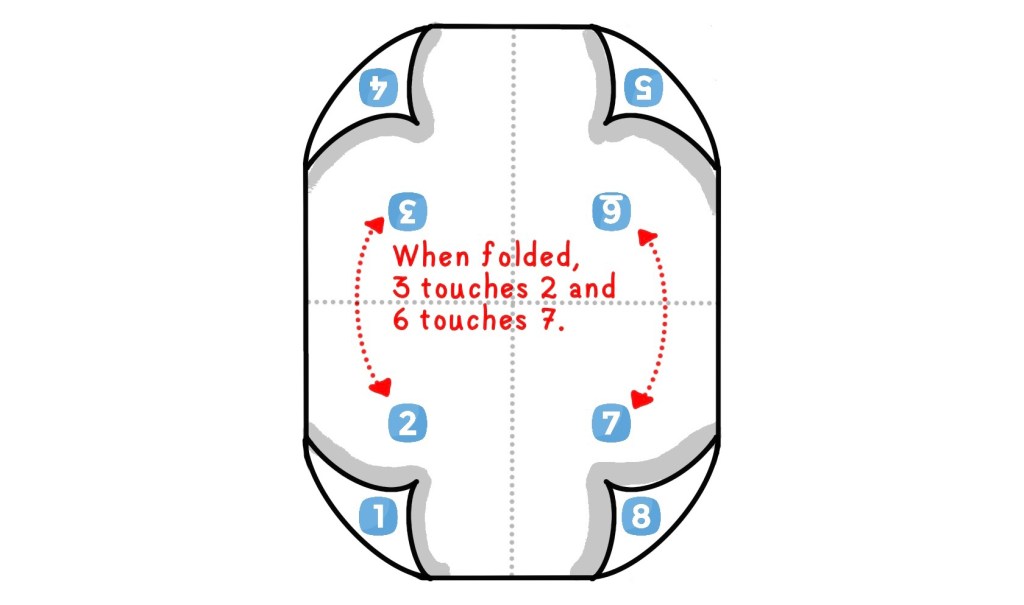
If you imagine a hinge and fold the 2 sides together, that’s how the resulting quarto will appear before folding and trimming.

This last image illustrates how the pages come together during the first fold. The second fold is a book fold, so it’s easier to see.
Printing a quarto
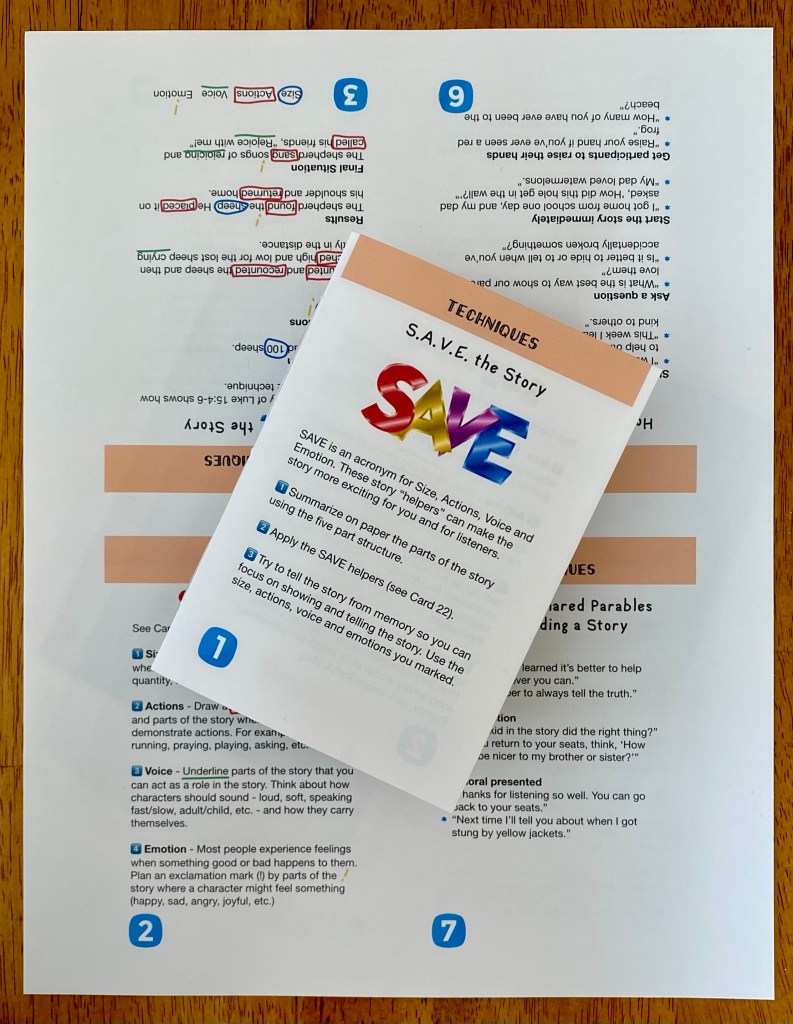
Create 8 content pages using Keynote. I created custom size slides 2,100 x 3,000 pixels, using the 3.5 x 5 ratio for the finished pages. The finished pages should include margins. Save the slides as images.
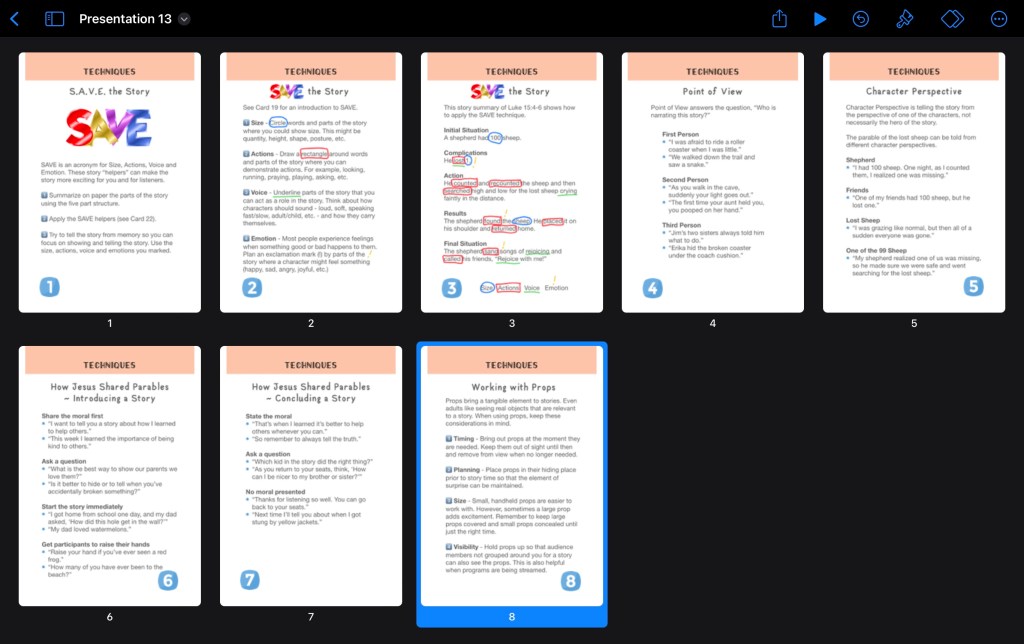
Duplicate the Pages template. I added guidelines as a background image.
Insert the images into the copy of the Pages template. The template indicates which pages should be rotated for Sides A and B.
- Side A: Pages 1, 4, 5, 8
- Side B: Pages 2, 3, 6, 7
Under page setup, remove the template. I changed the text wrap for all of the images (pages) to “none.”
Print onto 1 sheet using the double-sided print option. If you print 1 page at a time, you will need to rotate the printed page 180 degrees before reinserting into the printer.
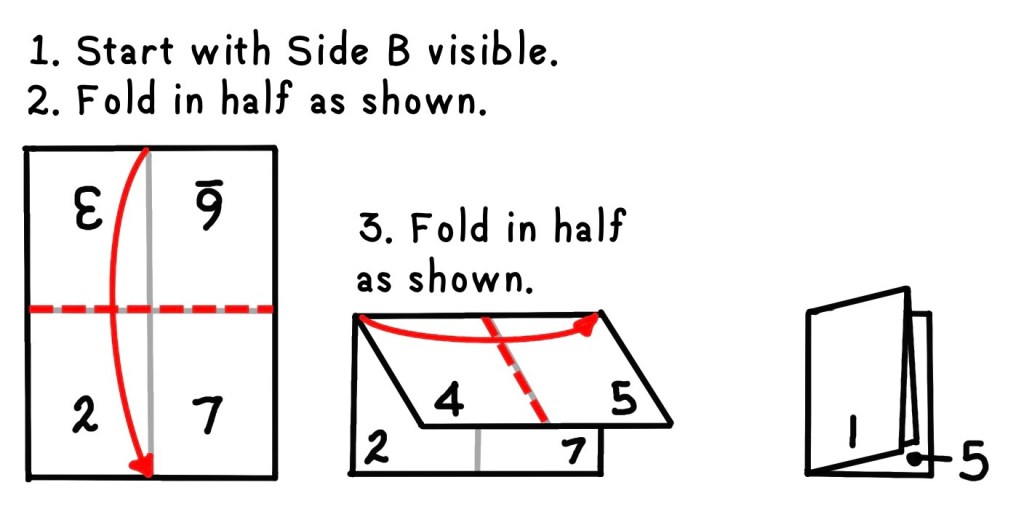
Fold the printed quarto as shown below …
Binding the quarto
- Punch and bind the booklet. Using the technique described in BLOG POST, I modified the number of holes to 3 – punched at 1.00, 2.75, and 4.50 inches.
- Trim the edges. Using my paper trimmer, I trimmed 0.25 inch from the top and bottom, and trimmed along the fore edge for a book width of 3.5 inches.
Considerations
- Using the quarto template makes it easier to print 8 pages, especially with a small page size. Otherwise, it is necessary to layout pages, cut and fold them, then assemble together.
- Unless you want to bind multiple booklets together as signatures for a book, the quarto page limit is 8 pages.
- Creating a quarto from letter size paper makes a nice, small booklet, perfect for mailing as a gift.
- If you want a quarto with empty pages, you can skip the printing steps and proceed to binding and trimming.
- Trimming on 3 sides gives the finished booklet a clean, professional look.
- You can also use a stapler (especially a saddle stapler) to bind the pages as an alternative to using the tradition sewing technique.
